

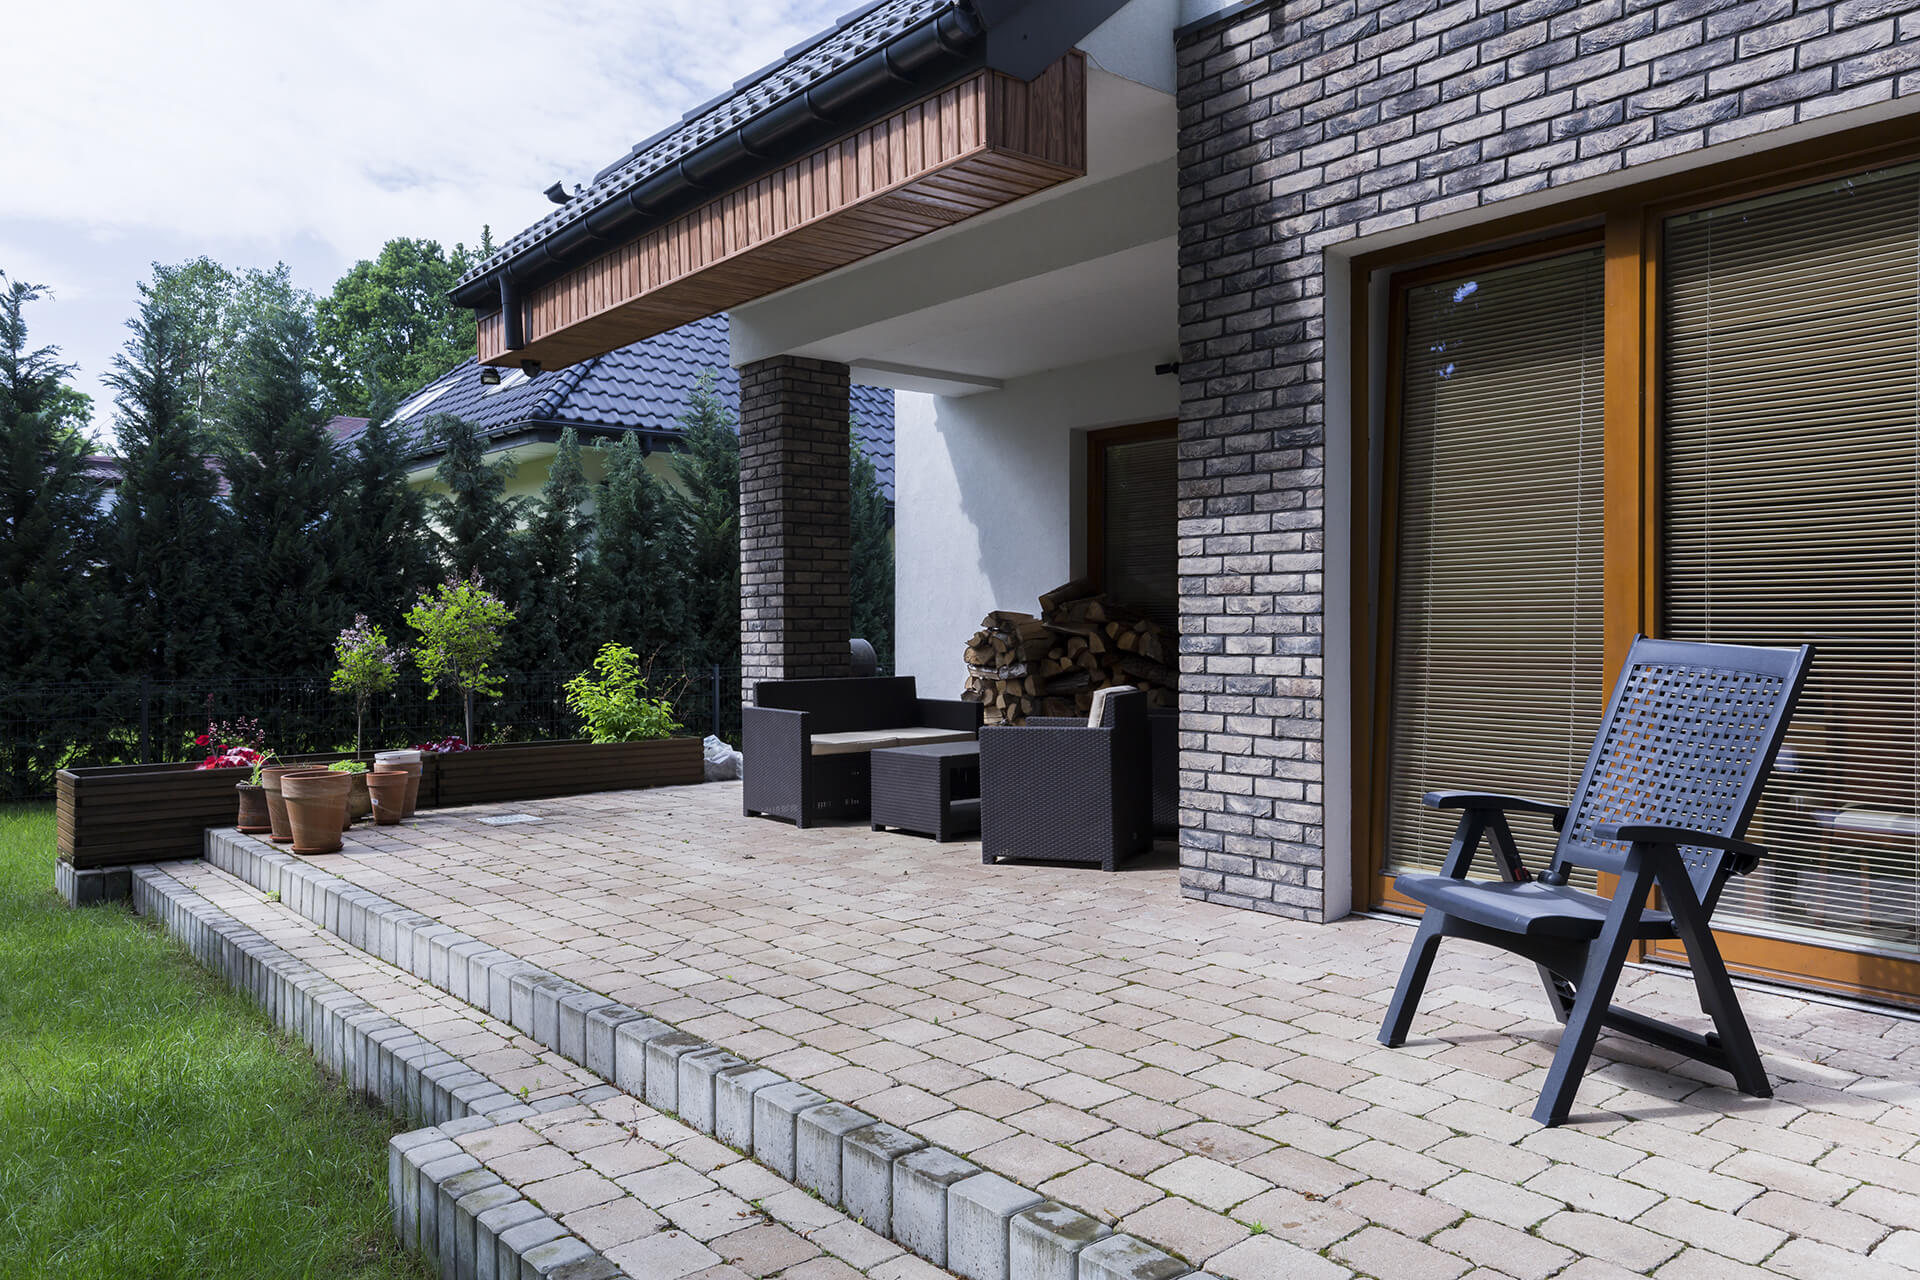
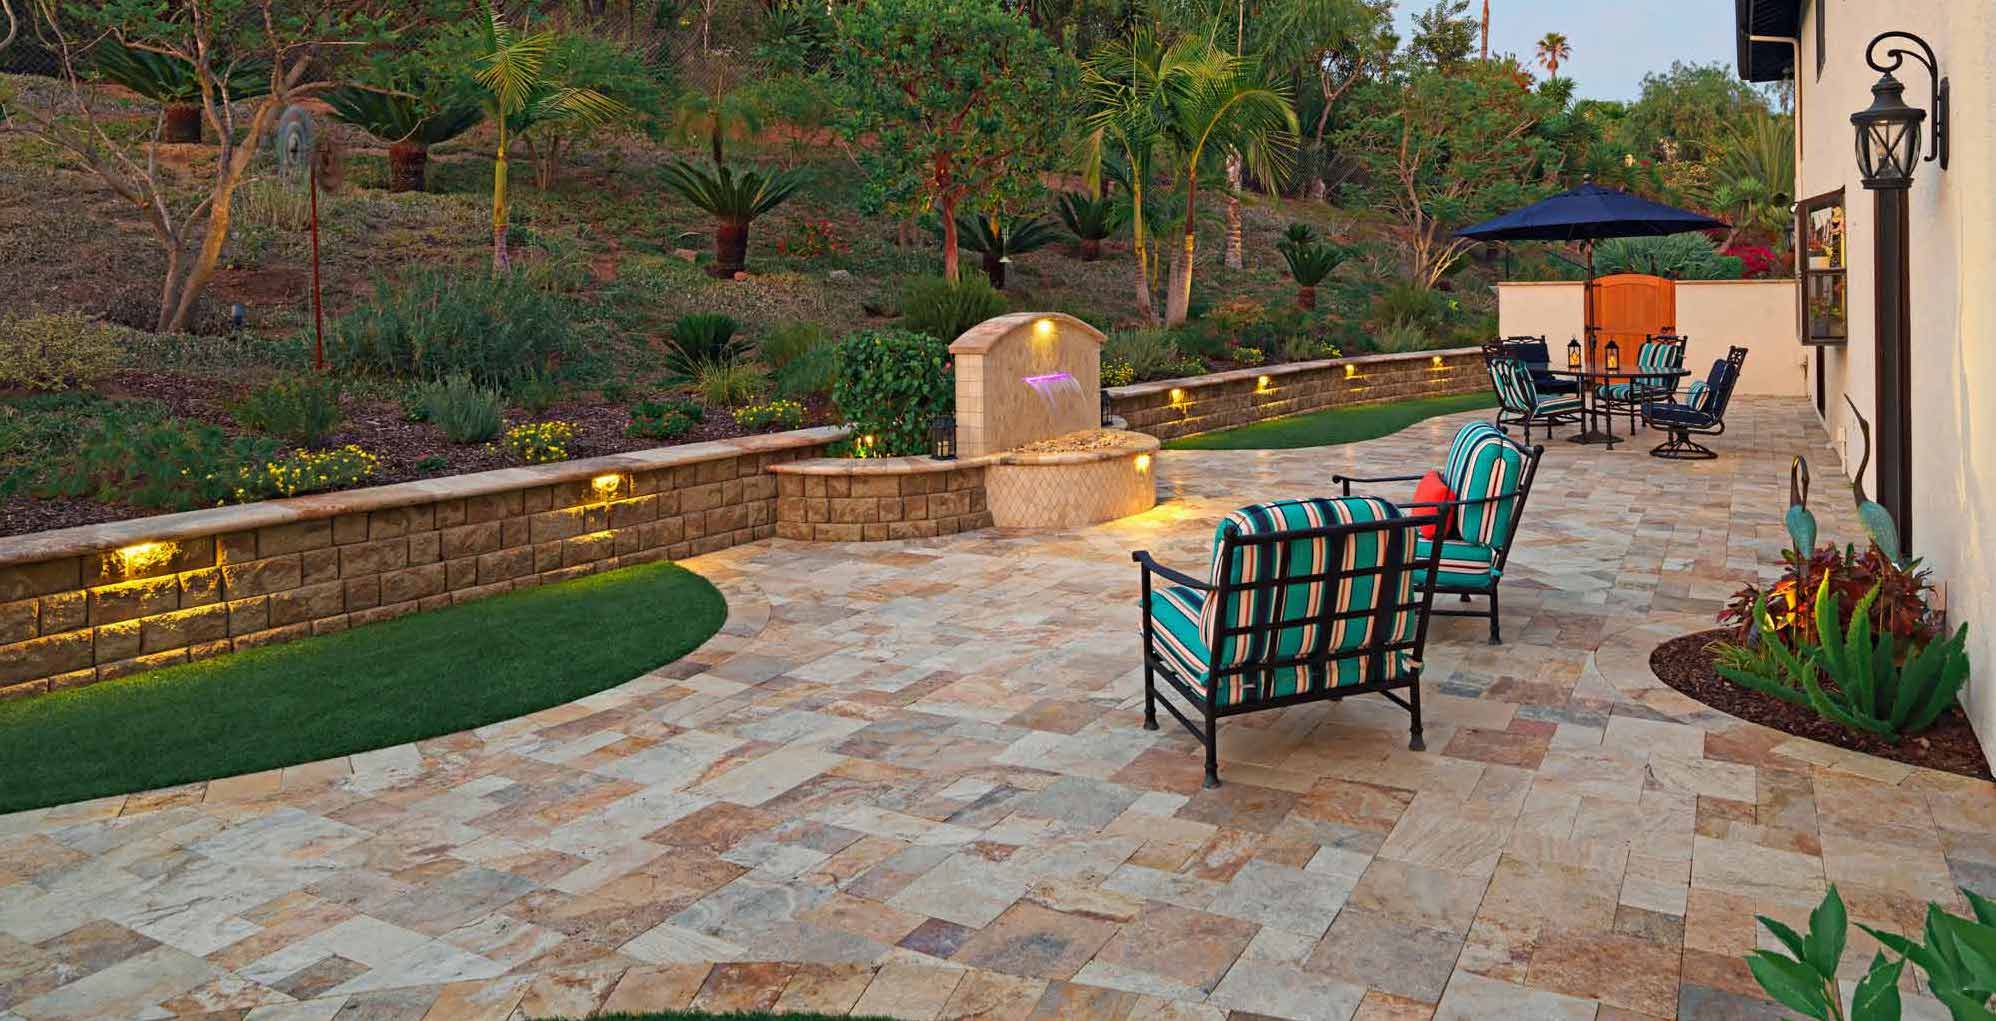
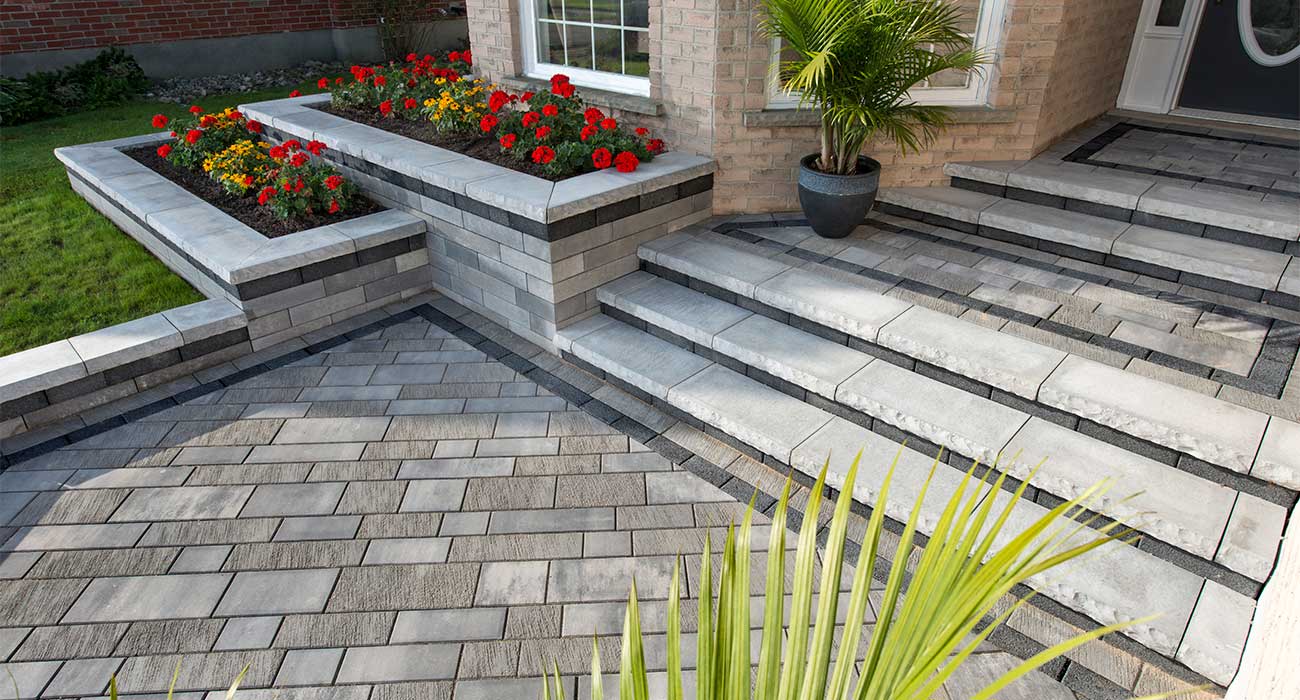
A paver border is not just a decorative outline. It is the detail that frames a driveway, patio, pool deck, or walkway and helps keep the entire surface locked together. When homeowners install paver borders correctly, the result looks intentional from every angle and performs better through Arizona heat, monsoon rain, vehicle traffic, and years of outdoor living.
A border can be a contrasting color, a different paver shape, or a simple soldier course that defines the edge of a larger field pattern. What matters most is what supports it below the surface. A beautiful border set on poor preparation can shift, spread apart, or sink. A properly built border becomes part of a durable segmental paver system designed to protect your investment.
Why paver borders matter beyond appearance
Borders create a finished transition between the pavers and the surrounding landscape, turf, gravel, concrete, or planting areas. On a patio, they give the space a clean perimeter that makes furniture arrangements and outdoor features feel more defined. Around a pool, a border can visually separate the deck from coping or artificial turf. Along a driveway, it can add curb appeal while reinforcing the outer edge where pavers take the most stress.
The structural role is just as valuable. Interlocking pavers distribute loads across a compacted base, but they need reliable edge restraint to prevent lateral movement. Without a secure edge, small gaps can develop over time. Sand washes out, pavers move, and the crisp lines that made the surface stand out from the norm begin to fade.
In Phoenix-area properties, this is especially relevant. Extreme summer temperatures, intense rain events, irrigation overspray, and expansive desert soils can expose shortcuts in installation. The right base depth, drainage plan, restraint, and compaction make the difference between a surface that stays level and one that needs premature repairs.
Plan the border before ordering materials
The best time to choose a border is during the design stage, not after the main field pavers are already installed. Border width affects the layout, the number of cuts required, and where the pattern begins and ends. A professional layout also prevents thin, awkward paver slivers at a visible edge.
For most patios and walkways, a single row of border pavers is enough to create definition. Wider borders can work beautifully around a large pool deck, circular fire pit area, or formal courtyard, especially when paired with a contrasting paver color. Driveways may use a single soldier course or double border, depending on the vehicle load, scale of the home, and overall design.
Consider how the border will relate to fixed features. It should meet house walls, gates, steps, drainage channels, pool coping, and existing concrete cleanly. Curves require more planning than straight runs because each paver must follow the radius without creating large joints. Small curves can also increase cutting time and material waste, so they should serve the design rather than complicate it for no reason.
Before excavation begins, mark the finished footprint with paint, string lines, or flexible layout hose for curves. Verify elevations and slope as well. Exterior hardscapes need positive drainage away from the home and other structures. A border may look level, but the entire surface must be graded to guide water where it belongs.
How to install paver borders on a stable base
The installation sequence for a border depends on the chosen pattern and site conditions, but the foundation work remains consistent. Borders should not be treated as an afterthought placed on loose soil around the finished pavers.
Excavate for the full system
Excavate the complete paver area, including the border and space for edge restraint. Depth depends on the intended use. A pedestrian walkway generally needs less base than a driveway carrying cars and trucks. Soil conditions also matter. Soft, disturbed, or expansive ground may require deeper excavation, geotextile fabric, or additional aggregate to build a stable platform.
The excavation should account for the compacted aggregate base, bedding sand, and paver thickness. The final elevation must align with door thresholds, nearby concrete, drainage paths, and landscape grades. Cutting corners here creates problems that no surface-level adjustment can permanently solve.
Build and compact the aggregate base
Install crushed aggregate in manageable lifts and compact each lift with the right equipment. The goal is a dense, even base that resists settlement. Simply spreading gravel and compacting once at the end is not the same as building a properly layered foundation.
Base depth varies by application. A patio or walkway may require a lighter build than a driveway, while vehicle areas demand more excavation and a stronger compacted base. For Arizona homes, the soil, drainage, and planned use should drive the specification. This is one reason a fixed estimate from an experienced hardscape contractor is more useful than a one-size-fits-all price.
Once the base is compacted and graded, add a thin, consistent bedding layer of clean concrete sand. Screed it smooth, but do not use bedding sand to correct major dips in the base. Thick or uneven bedding layers can settle and allow borders or field pavers to move.
Set the border with accurate lines and spacing
Install border pavers according to the design layout, checking straight runs with string lines and square corners with careful measurements. For curves, use a guide that matches the intended radius and place pavers gradually to maintain even joints.
The border should be set at the same finished height as the field pavers unless the design intentionally calls for a raised or lowered feature. Tap each paver into the bedding sand with a rubber mallet as needed, but avoid forcing pavers into place so tightly that joints disappear. Consistent joints are necessary for jointing sand and proper interlock.
If the border uses a different size or shape than the field, confirm that the pattern still lands cleanly at corners and transitions. This is where craftsmanship shows. A skilled installer adjusts the layout before making cuts, rather than relying on narrow pieces that weaken the edge and distract from the design.
Install edge restraint where it counts
Edge restraint is what keeps the paver assembly from spreading. Most residential projects use durable plastic, aluminum, or concrete edge restraint secured into the compacted base with spikes. The restraint is typically concealed along the outside edge, then covered by adjacent soil, gravel, turf, or landscape material.
For a driveway, the restraint and base preparation must be capable of handling repeated loading near the perimeter. For a patio beside a retaining wall, existing concrete, or house foundation, the detail may be different. Some edges are contained by a rigid structure, while others require a dedicated restraint system. There is no single correct product for every project, but there is a correct approach for each condition.
Do not rely on loose dirt, decorative rock, or lawn edging alone to hold pavers in place. Those materials can shift, erode, or separate from the hardscape. The border needs a mechanical restraint tied into a stable base.
Cut, compact, and lock the joints
After the border and field pavers are installed, cut perimeter pieces with a professional-grade saw for clean, precise edges. Wear proper safety equipment and control dust, particularly when cutting concrete pavers in dry Arizona conditions. Dry-fitting and measuring twice reduces waste and avoids visible mistakes.
Run a plate compactor over the installed pavers using a protective pad to prevent scuffing. Then sweep jointing sand into the paver joints and compact again until the joints are filled. Polymeric sand may be appropriate in many applications because it helps resist washout and weed growth, but it must be installed exactly as specified and kept off the paver surface before activation.
The compacting and jointing process is not a finishing touch to skip. It is what helps the border and field pavers work together as one interlocking surface.
Border design ideas for Arizona outdoor spaces
A charcoal or deep brown border around lighter tan pavers creates a sharp, timeless look for Southwestern homes. For a more natural style, use warm blended tones that coordinate with stone veneer, stucco colors, or travertine pool coping. A simple soldier course can elevate a straight walkway, while a curved border can soften the edges of an artificial-turf backyard or fire pit gathering area.
Keep maintenance in mind when selecting colors. Very light pavers can show dust and leaf stains more readily, while very dark pavers may feel hotter under direct sun. Around pools, choose materials and textures suited to wet feet and frequent exposure to water. The most attractive choice is one that fits the home, the outdoor lifestyle, and the demands of the site.
When professional installation is the smarter choice
A small garden path can be a manageable project for a capable homeowner with the right tools and patience. Large patios, driveways, pool decks, drainage-sensitive yards, and projects with retaining walls or steps deserve professional planning. The visible pavers are only one part of the job. Excavation, base thickness, compaction, elevations, cuts, restraints, and drainage all have to work together.
Liberty Pavers designs and installs custom hardscapes with the preparation work given the attention it deserves. Homeowners receive clear guidance on materials, design options, and the construction details that support long-term performance, backed by licensed, bonded, insured service and installation warranty protection.
A border should make your hardscape look finished on day one and keep it looking that way as your family uses the space. If you are planning a patio, walkway, driveway, or pool deck, get a quotation before the first shovel goes into the ground and build the edge right from the start.