

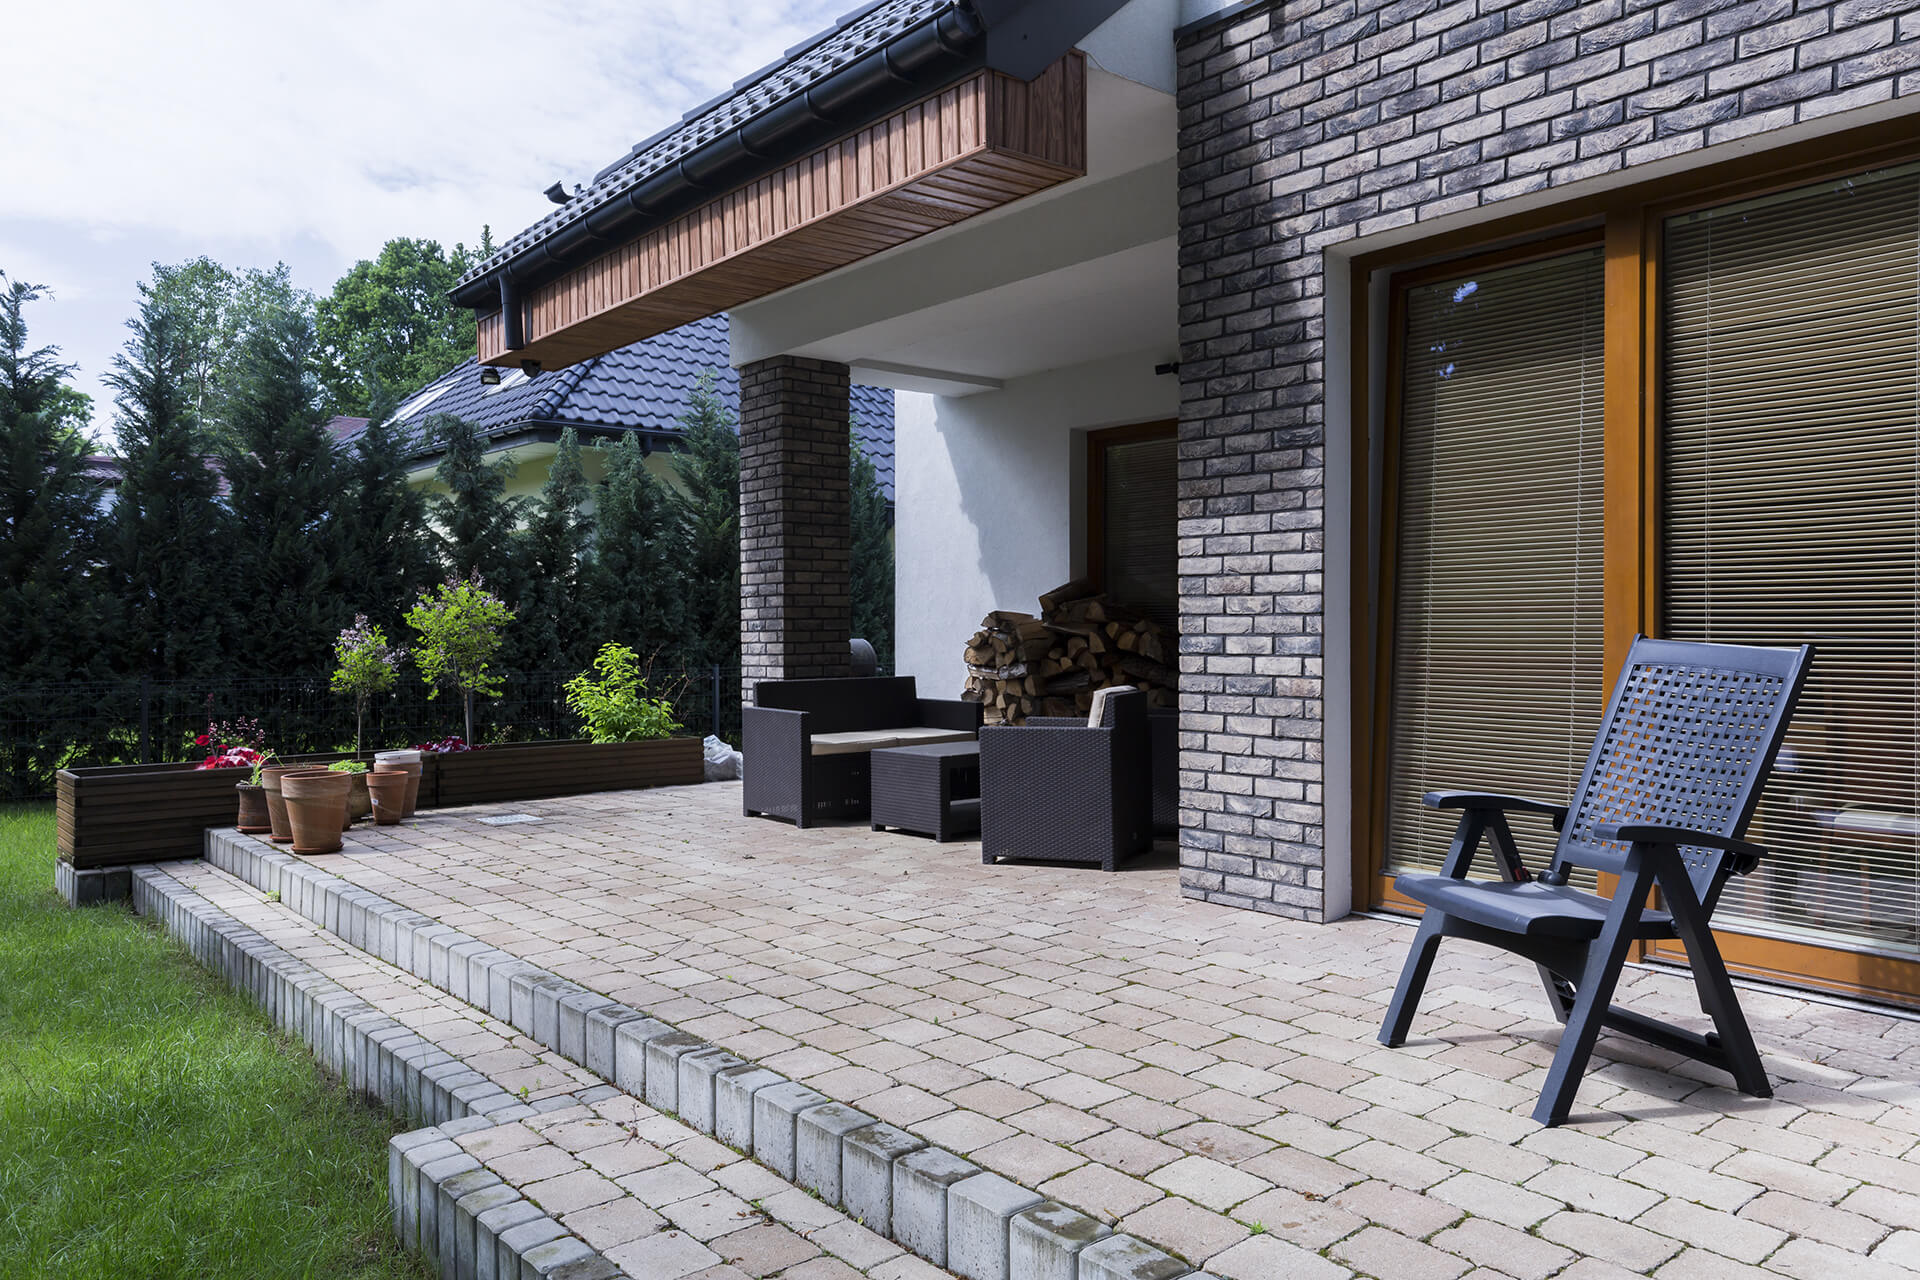
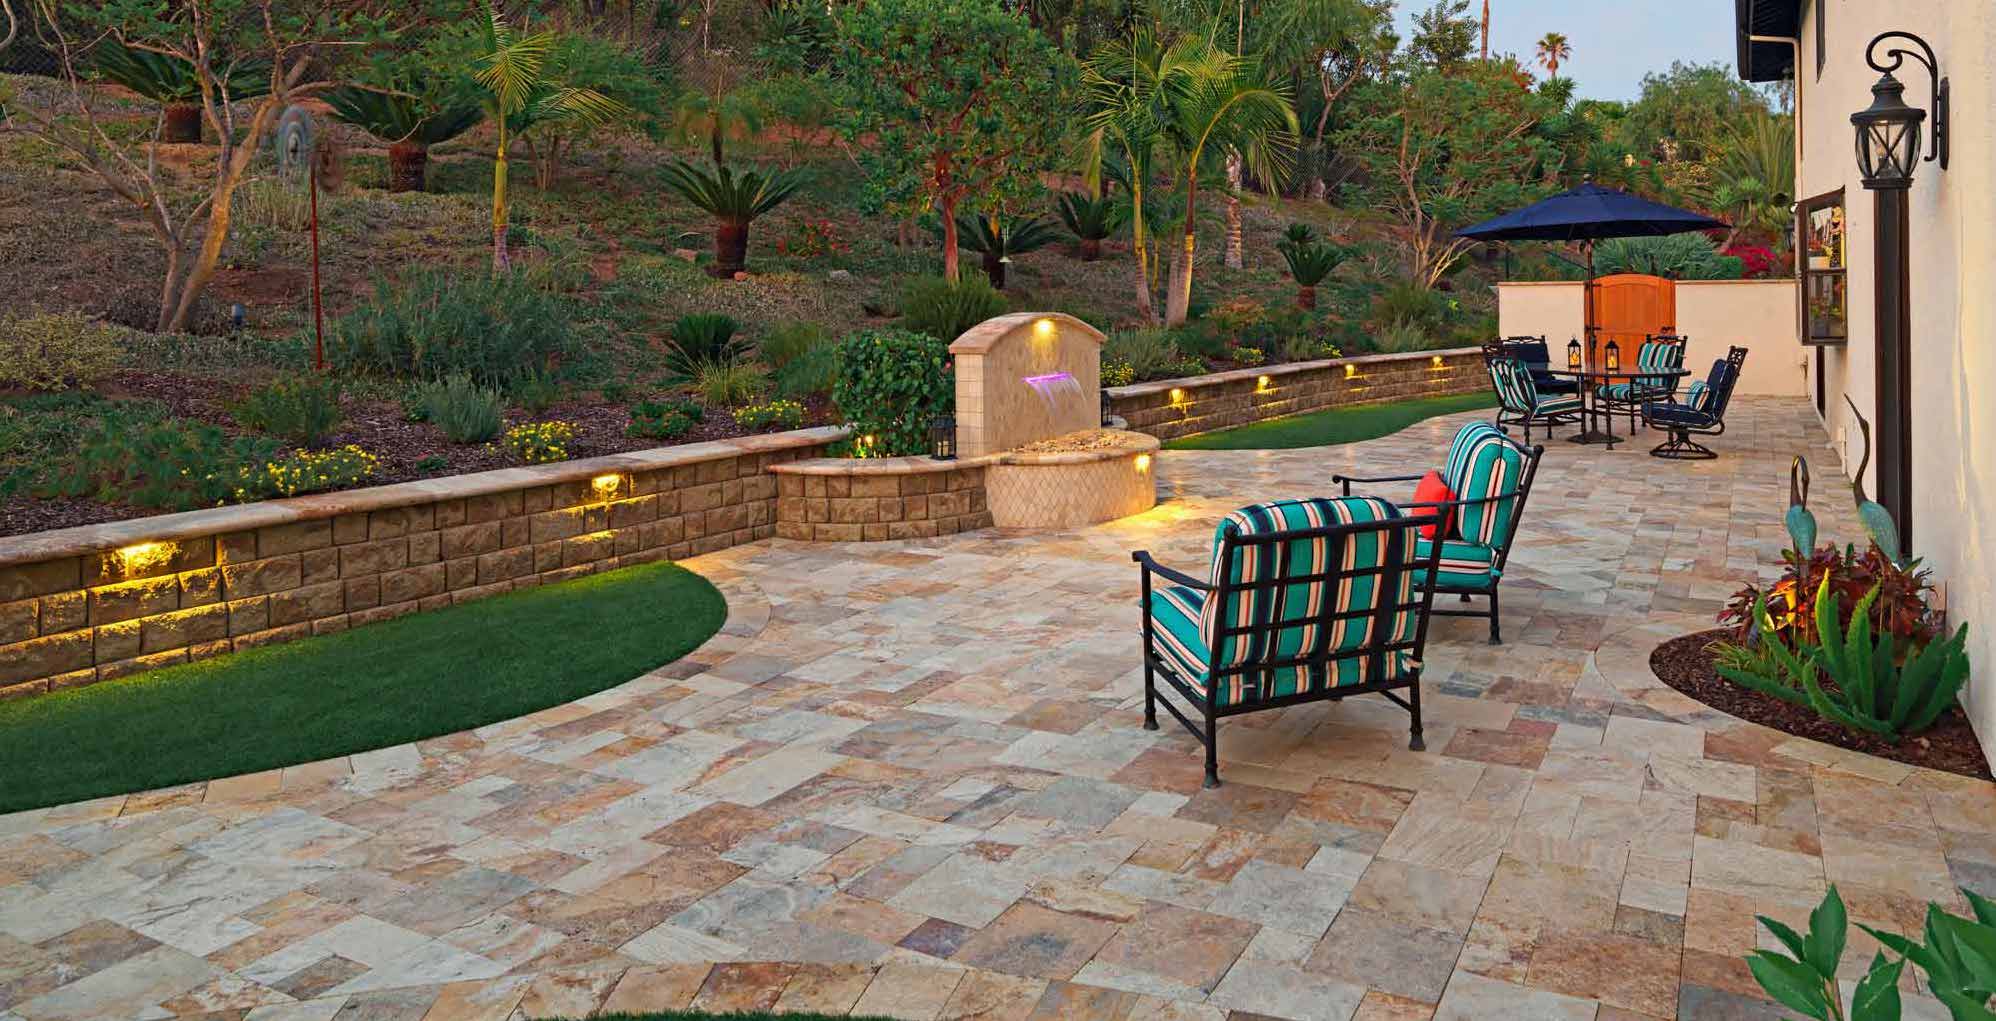
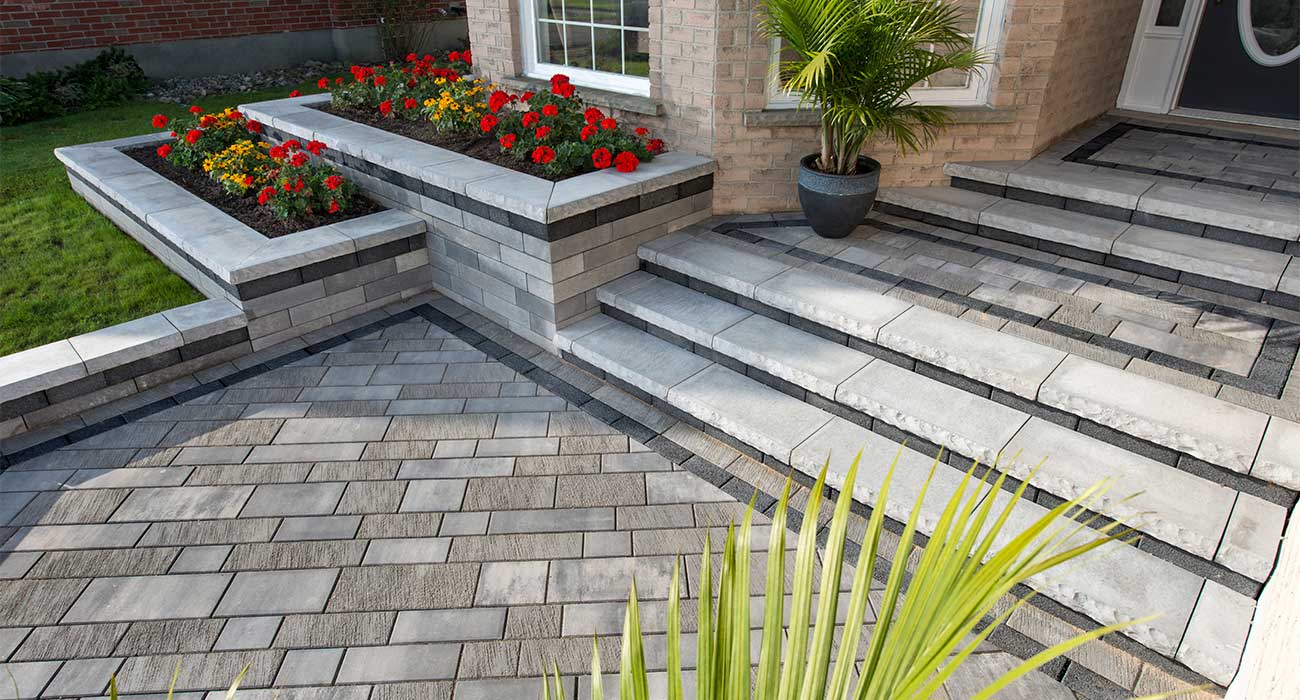
A beautiful paver patio, driveway, pool deck, or walkway is built long before the first paver is set in place. Your paver installation timeline depends on the size of the area, site conditions, material choices, and the level of preparation needed beneath the surface. For Arizona homeowners, that preparation is what helps a finished outdoor space stand up to heat, monsoon moisture, daily traffic, and years of family gatherings.
Most residential projects move quickly once construction begins, but quality work should never feel rushed. Here is what to expect from the first conversation through the final cleanup.
What Affects a Paver Installation Timeline?
A straightforward front walkway may be installed in a few working days. A large backyard transformation with a paver patio, retaining wall, fire pit, artificial turf, lighting, and drainage improvements can take longer. The right timeline is based on the work your property actually needs, not a one-size-fits-all promise.
Project size is the obvious factor, but access matters too. A wide-open backyard with room for equipment is different from a narrow side yard where materials must be moved by hand. Existing concrete removal, grading corrections, irrigation lines, utility locations, custom borders, steps, and wall features can all add time.
Material availability also plays a role. Standard paver styles are often easier to schedule than specialty colors, natural stone, or custom-cut features. Weather can affect excavation and compaction as well, particularly during Arizona’s monsoon season. A dependable contractor plans for these realities and communicates clearly if conditions require an adjustment.
The Paver Installation Timeline From Start to Finish
1. Design, Site Visit, and Detailed Estimate
The process starts with a conversation about how you want to use the space. Are you creating a pool deck with a safer nonslip surface? Do you need a driveway that improves curb appeal and handles vehicle weight? Is the goal a backyard patio built for weekend entertaining?
During a site visit, the contractor measures the area, reviews access, checks the existing grade, and discusses colors, patterns, edges, and complementary features. This is also the time to address drainage. Water should move away from the home and finished surface, not collect against foundations or create puddles around a patio.
For many projects, this planning stage takes several days to a couple of weeks, depending on how quickly design decisions are finalized. Liberty Pavers provides fixed estimates so homeowners can make decisions with a clear understanding of the scope and investment.
2. Scheduling Materials and Your Installation Date
Once the design and estimate are approved, materials are ordered and the installation is placed on the schedule. This phase may be quick for commonly stocked pavers, while special-order products can require more lead time.
Before work begins, homeowners should clear movable furniture, plan for vehicle access if a driveway is involved, and discuss gates, pets, pool access, and irrigation controls with the installation team. You do not need to manage the construction process, but a little preparation helps the crew work efficiently and keeps your household comfortable.
3. Demolition, Excavation, and Grading
This is where the visible transformation starts, although it may not look pretty at first. Existing grass, gravel, concrete, old pavers, or unstable soil are removed. The crew excavates to the proper depth for the intended use of the surface.
A pedestrian walkway does not require the same structural build-up as a driveway. Pool decks and patios need careful grading, while driveways must be designed to support repeated vehicle loads. Cutting corners during excavation can lead to settling, shifting, low spots, and costly repairs later.
On a typical patio or walkway, excavation may take one or two days. Concrete removal, hard soil, restricted access, larger areas, or extensive grading can add time. The goal is not simply to make room for pavers. It is to create a stable, correctly sloped foundation for the entire system.
4. Base Preparation and Compaction
Base preparation is the part of the project homeowners may never see again, yet it carries the most responsibility. A well-built aggregate base is installed in layers and compacted thoroughly. Each layer supports the next, helping the finished surface resist movement under foot traffic, furniture, vehicles, and Arizona temperature swings.
The required base depth depends on the application and soil conditions. A driveway typically needs more structural support than a patio. If the property has drainage concerns, the team may incorporate grading solutions before the pavers are installed.
This phase often takes one to three days, sometimes longer for larger projects or complicated sites. It is tempting to judge progress only by how many pavers are visible, but this is the stage that protects your investment. A fast installation with a weak base is not a good value.
5. Edge Restraints, Bedding Sand, and Paver Placement
After the base is complete, edge restraints are installed to hold the paver field in position. A precise layer of bedding sand is then screeded smooth. This creates the setting bed for the pavers, not a substitute for the compacted base below.
The installation crew lays the selected pavers in the approved pattern, checking alignment, elevations, and transitions as the work progresses. Borders, soldier courses, circles, inlays, and color blends can make a surface stand out from the norm, but they also require more cutting and detail work than a simple running pattern.
For an average residential patio, this stage may take one to three days. A driveway, pool deck, or custom outdoor living area can require more time. Skilled placement matters because even small inconsistencies become noticeable across a large finished surface.
6. Cutting, Joint Sand, and Final Compaction
No professional paver installation is complete when the last full paver is laid. The crew cuts pavers at edges, curves, drains, posts, steps, and other transitions for a clean, tailored fit. Joint sand is swept into the spaces between pavers, then the surface is compacted to lock the system together.
Depending on the material and project requirements, polymeric joint sand may be used to help reduce weed growth and insect activity between pavers. The crew cleans the site, removes construction debris, and walks the finished project with you.
At this point, a patio or walkway is often ready for normal foot traffic right away. Driveways may have specific recommendations based on the project conditions, so always follow your installer’s guidance before parking vehicles on the new surface.
Typical Project Durations for Arizona Homes
While every property is different, a simple paver walkway may take two to four working days after materials are ready. A standard patio often takes about four to seven working days. Driveways, large pool decks, retaining walls, and complete backyard renovations can range from one to several weeks.
Those estimates refer to active construction time, not the full period from first estimate to final installation. Design approvals, material lead times, scheduling, permits when required, and weather can extend the calendar timeline. A professional contractor should explain both the expected work duration and any factors that could affect the start date.
How to Keep Your Project Moving Smoothly
The best way to protect your schedule is to make key decisions early. Choose your paver color, pattern, border style, and added features before materials are ordered. If you are considering a fire pit, turf, seat wall, outdoor kitchen area, or drainage improvement, include it in the original plan whenever possible.
It also helps to be realistic about changes once construction is underway. Adding a larger patio or changing materials after excavation begins can affect both timing and cost. A clear plan gives the installation team the ability to focus on craftsmanship instead of revisiting completed work.
A well-planned paver project should feel exciting, not uncertain. Ask about the base depth, drainage plan, materials, access needs, and expected work sequence before construction starts. Then you can look forward to the best part: stepping into an outdoor space built for Arizona living, family time, and lasting curb appeal.